
Start converting your visitors
Download this FREE checklist and get your art sold faster!

Download this FREE checklist and get your art sold faster!
Art stores lose an average of 30% of potential sales when customers can't visualize how artwork will look in their space. The solution? Properly formatted dimensions that enable accurate AR previews.
Getting your art dimensions right isn't just about providing measurements—it's about creating an exceptional customer experience that drives conversions. When shoppers can see exactly how your artwork will look in their space with accurate sizing, they're 73% more confident in their purchase decisions and significantly less likely to return items.
This comprehensive tutorial will walk you through setting up precise AR previews using Picture It, ensuring your customers can visualize your art at true-to-size scale and boosting your conversion rates.
Before diving into the setup process, it's important to understand why getting your dimensions right makes such a difference. Customers shopping for art online face a common challenge: uncertainty about how a piece will actually look and fit in their space. By providing accurate AR previews, you're solving this problem and significantly reducing return rates while boosting customer confidence.
The foundation of accurate AR previews starts with properly formatted dimensions. Here's how to set them up:
Your dimensions should follow the standard Width x Height format. While Picture It can detect dimensions in various formats, consistency helps ensure the most accurate results.
Recommended formats:
Pro tip: Always include units (inches, cm, etc.) alongside your measurements. This helps Picture It's detection system work more accurately, though the app can still function without explicit units.
How you add dimensions depends on your product structure:
Place your dimensions anywhere within the product description. Picture It's intelligent system will scan and detect them automatically during the import process. You can write them naturally within your product copy, such as:
"This stunning landscape painting measures 30" x 40" and would make a perfect centerpiece for any living room."
Alternative method: If you prefer a more structured approach, you can store dimensions in Shopify metafields. When using metafields, make sure to include a separate field for units to ensure proper detection.

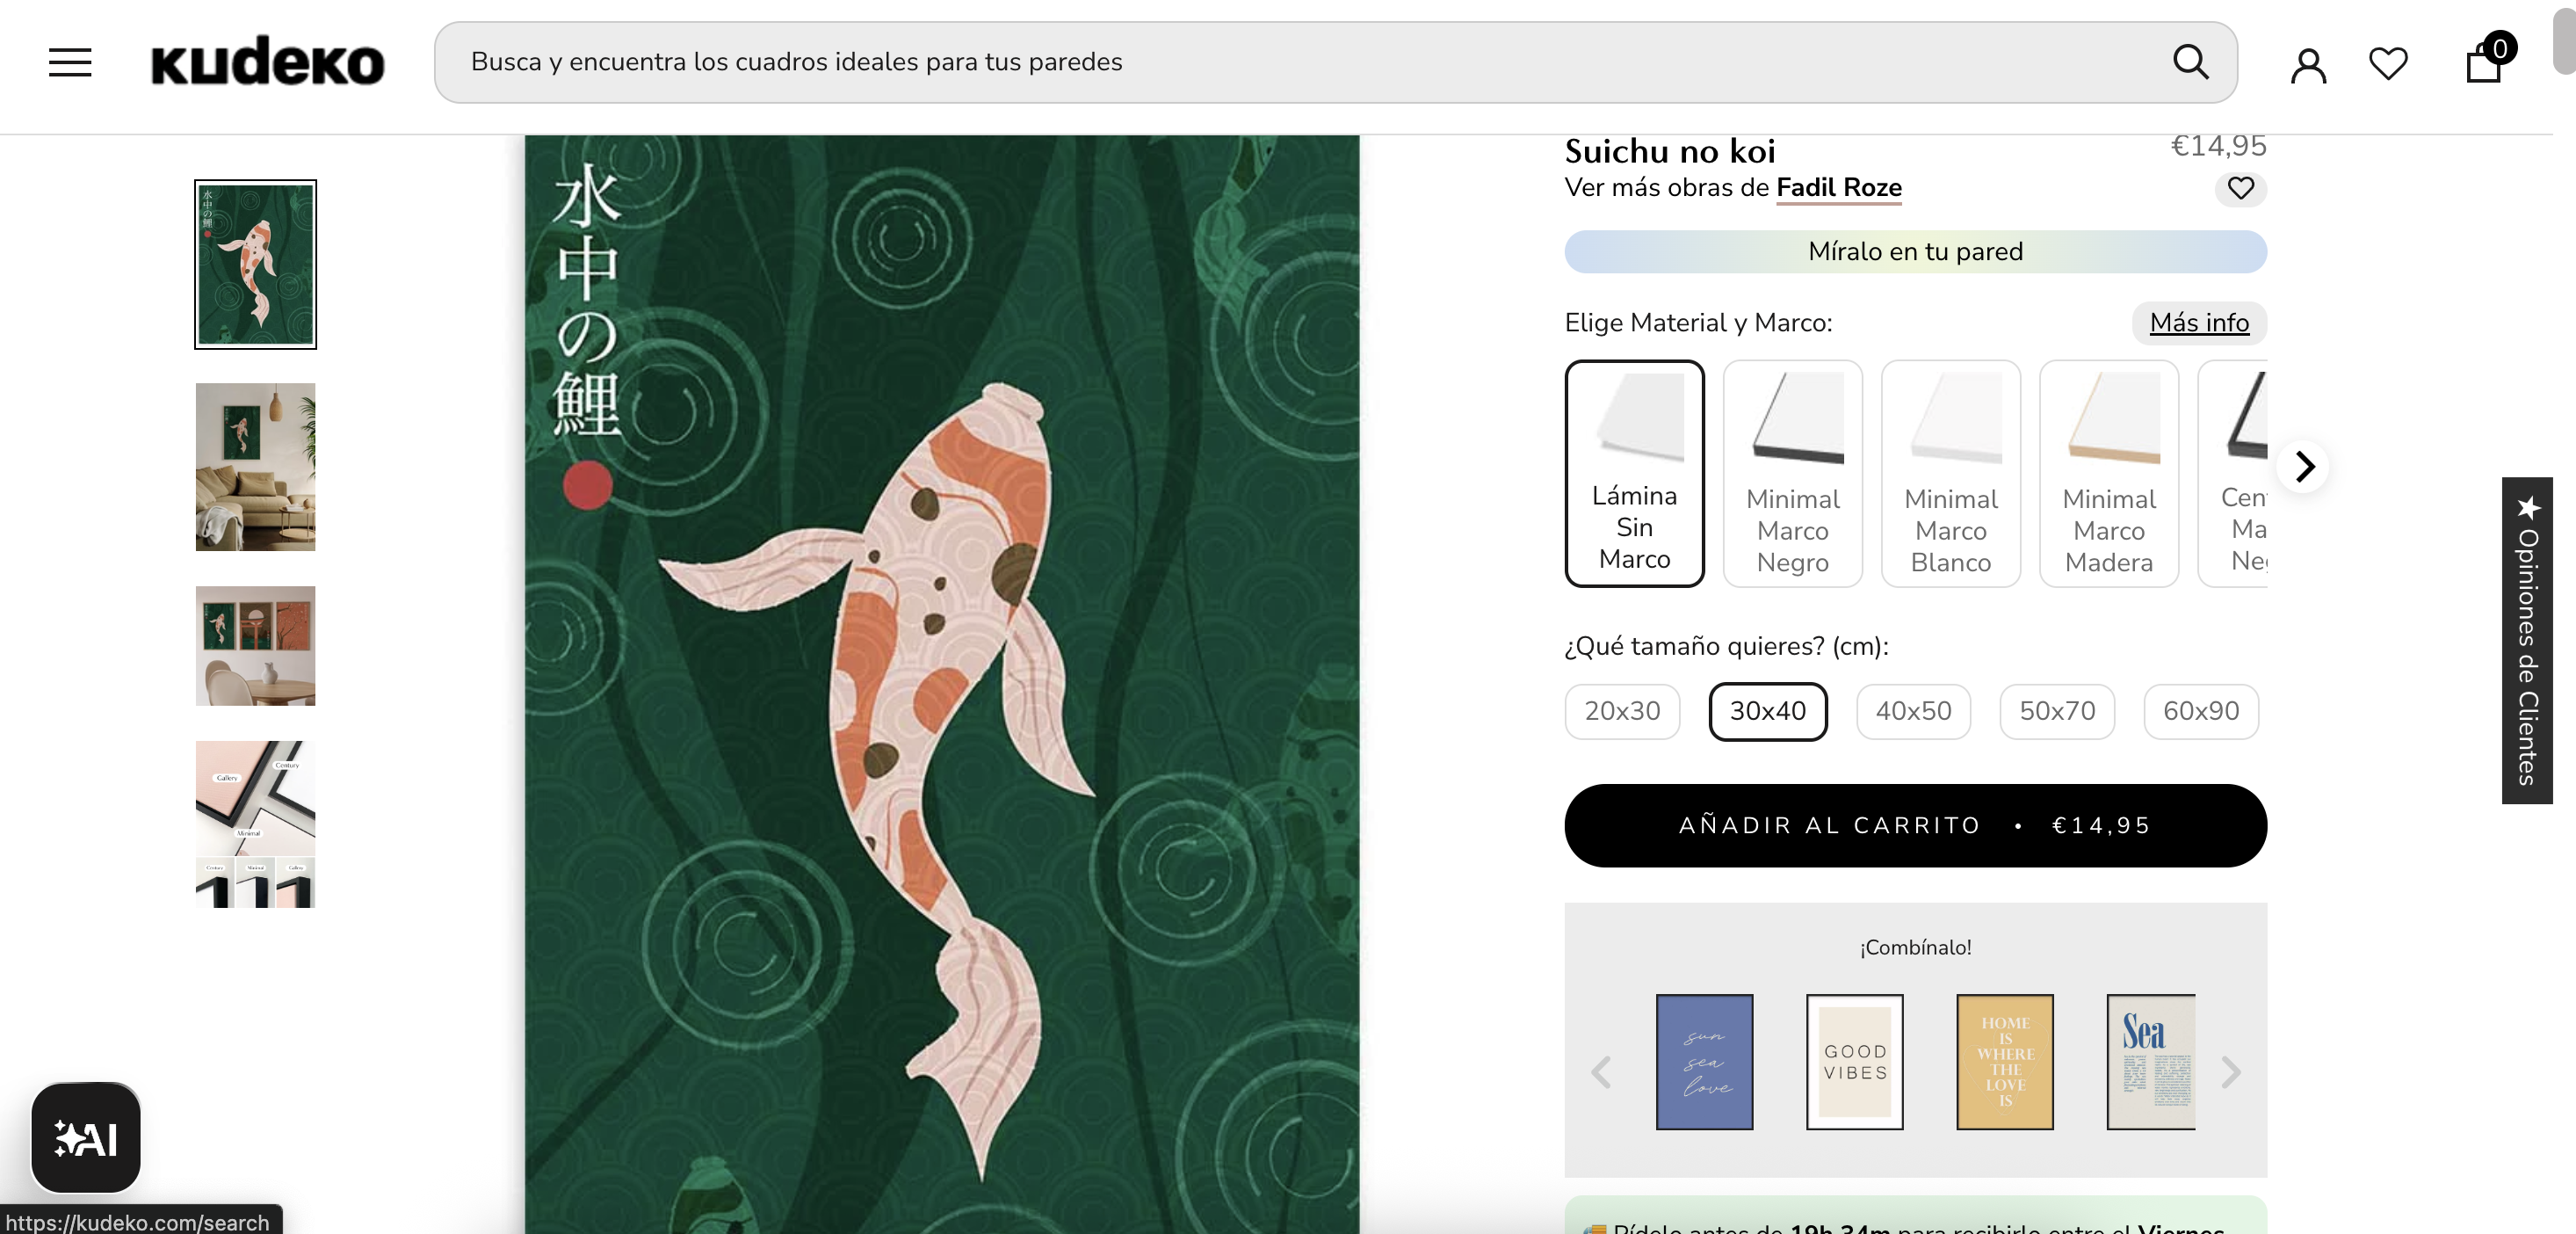
For products offering multiple size options, include the dimensions directly in your variant names. This allows Picture It to automatically map each size option to its corresponding dimensions.
Example variant names:
Once your product dimensions are properly formatted, it's time to set up the Picture It app.
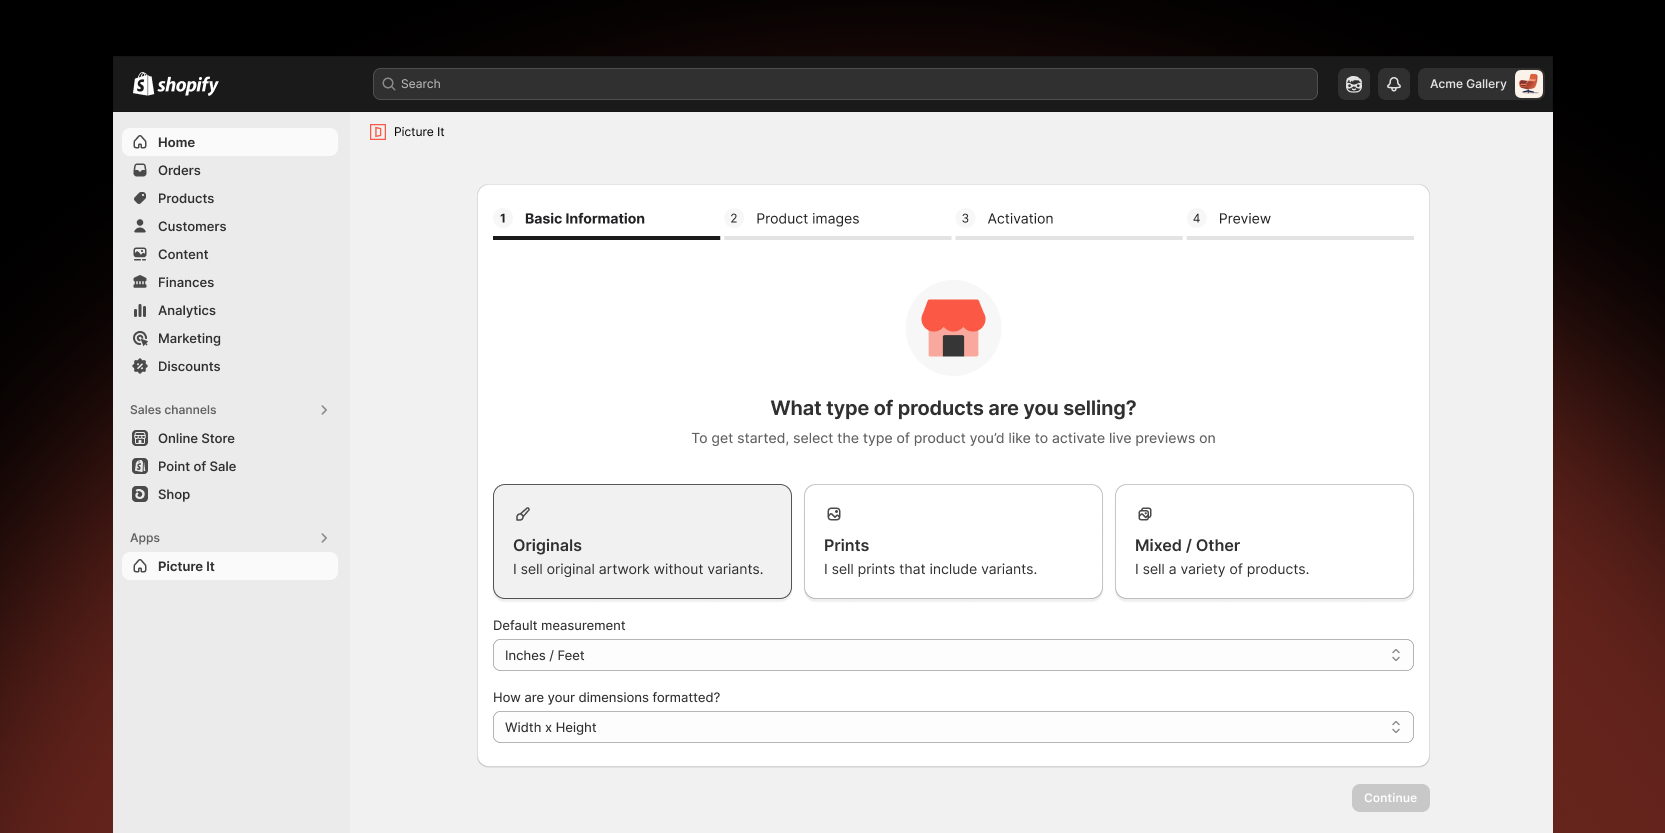
During the onboarding process, you'll need to specify how your dimensions should be interpreted:
Don't worry if you need to make changes later - these settings can always be adjusted in the app's configuration panel.
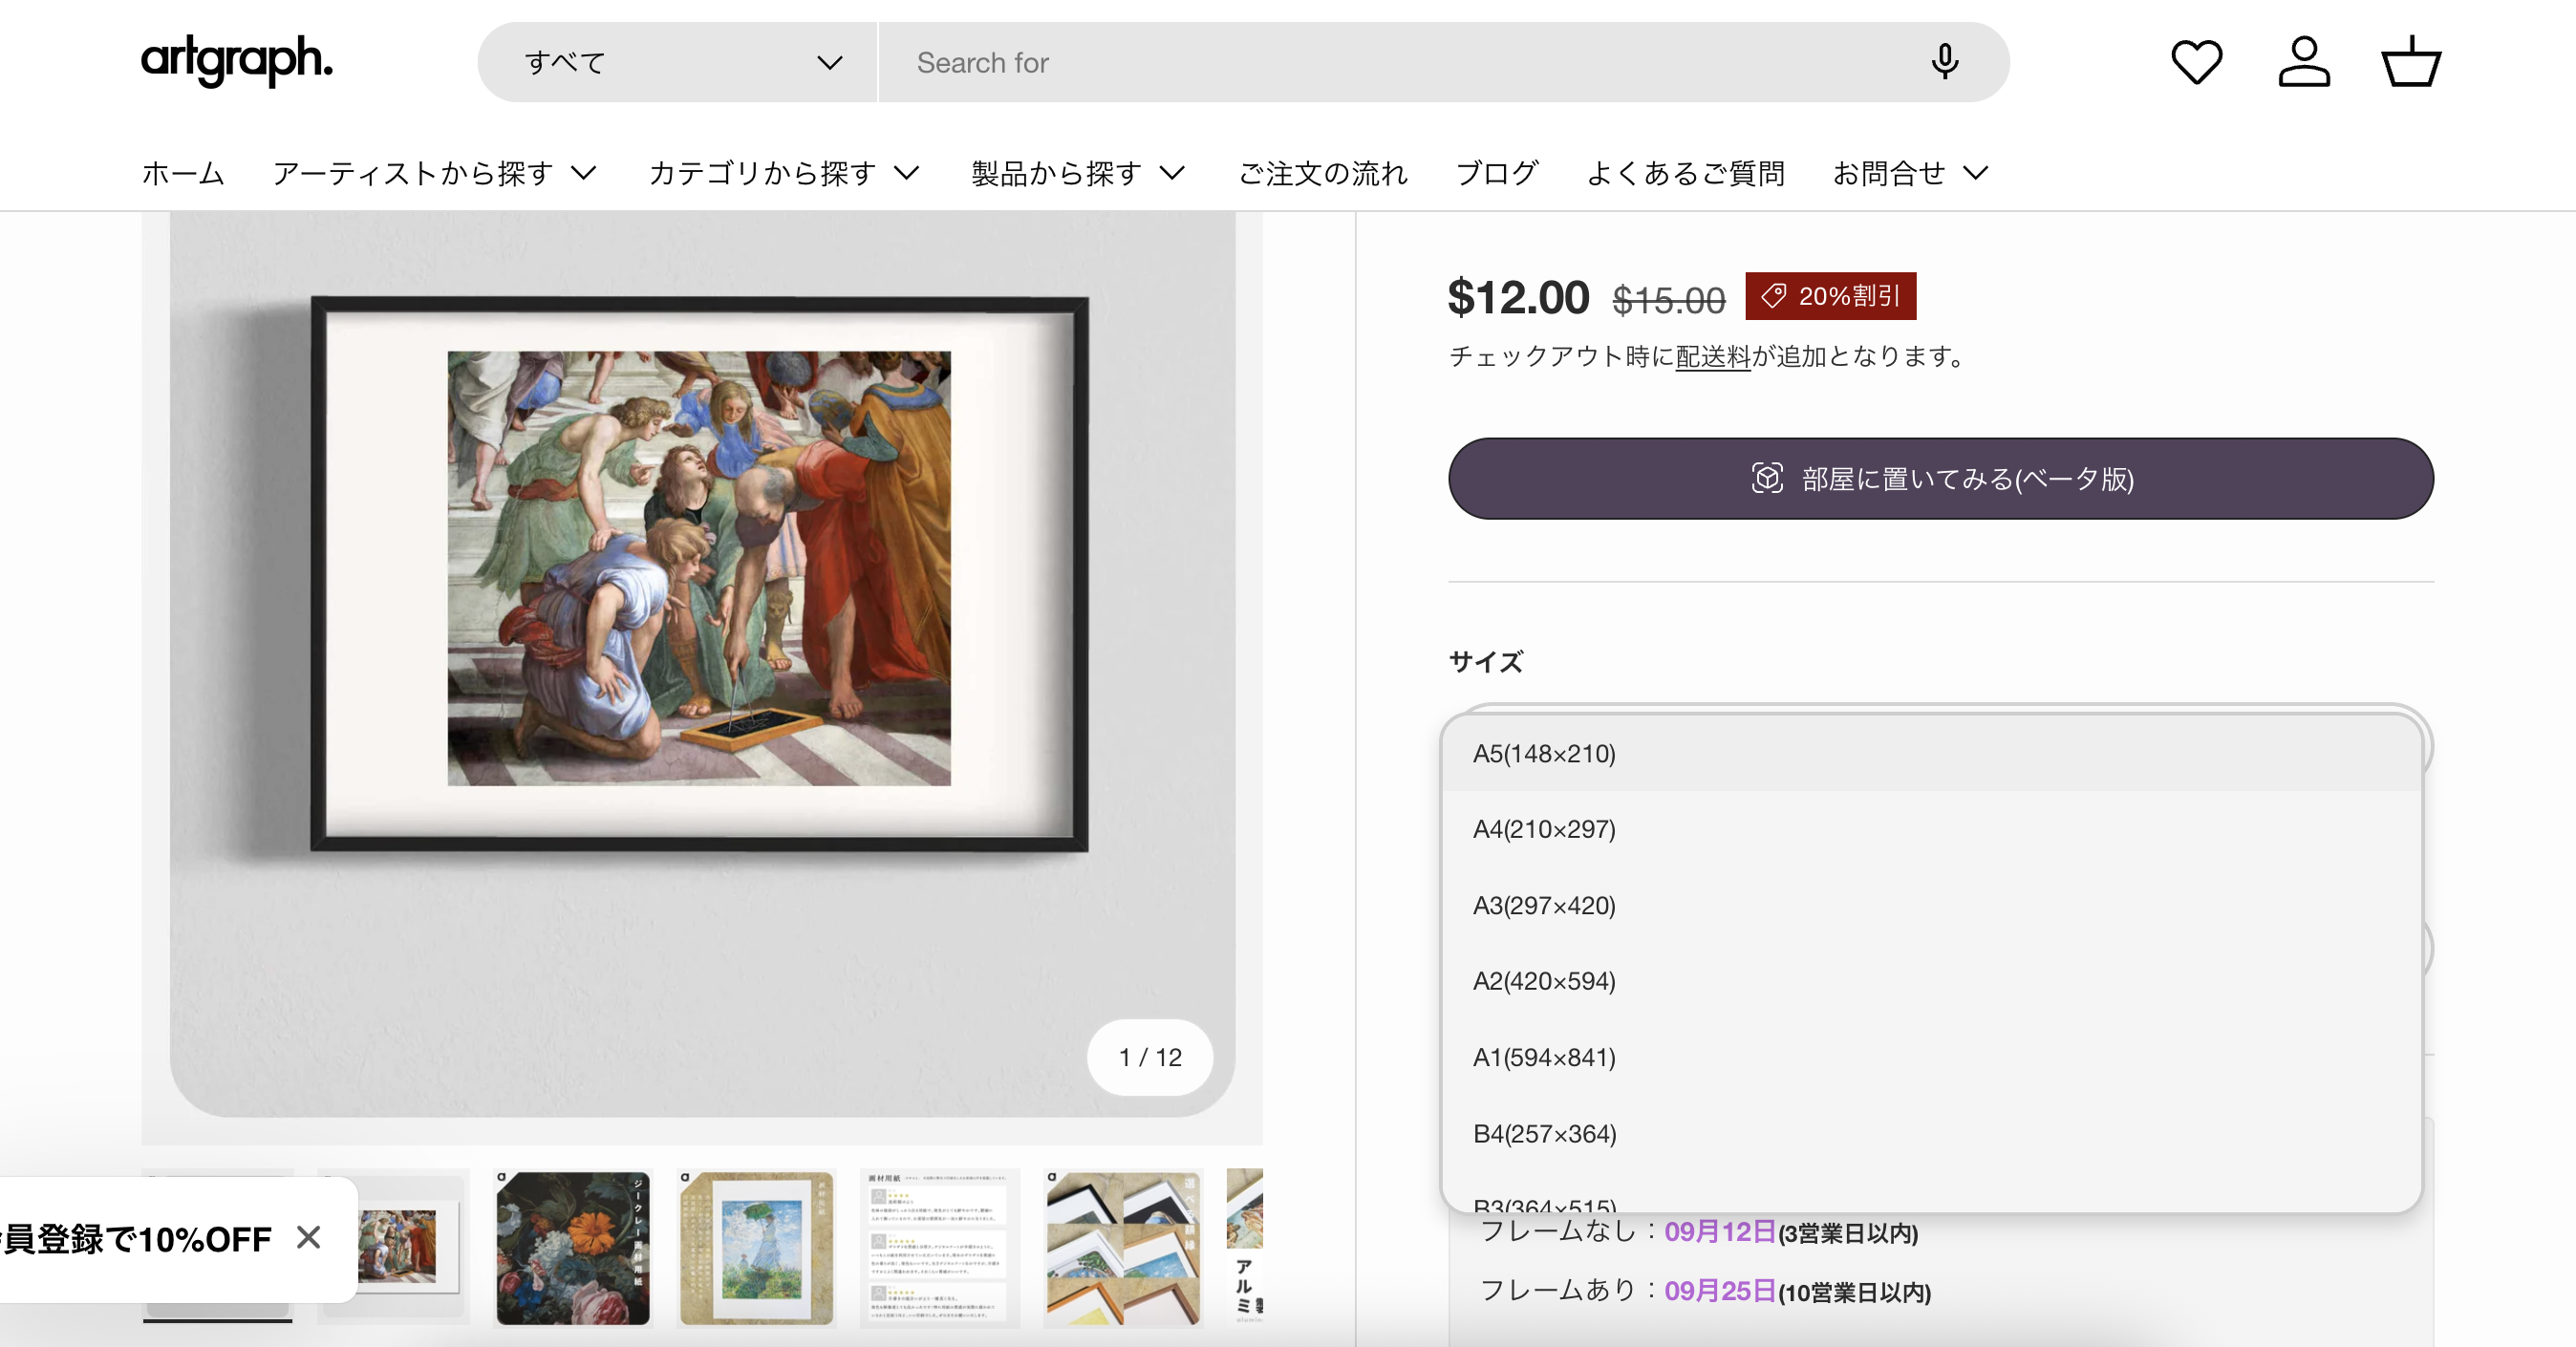
With your dimensions imported, it's time to activate AR functionality:
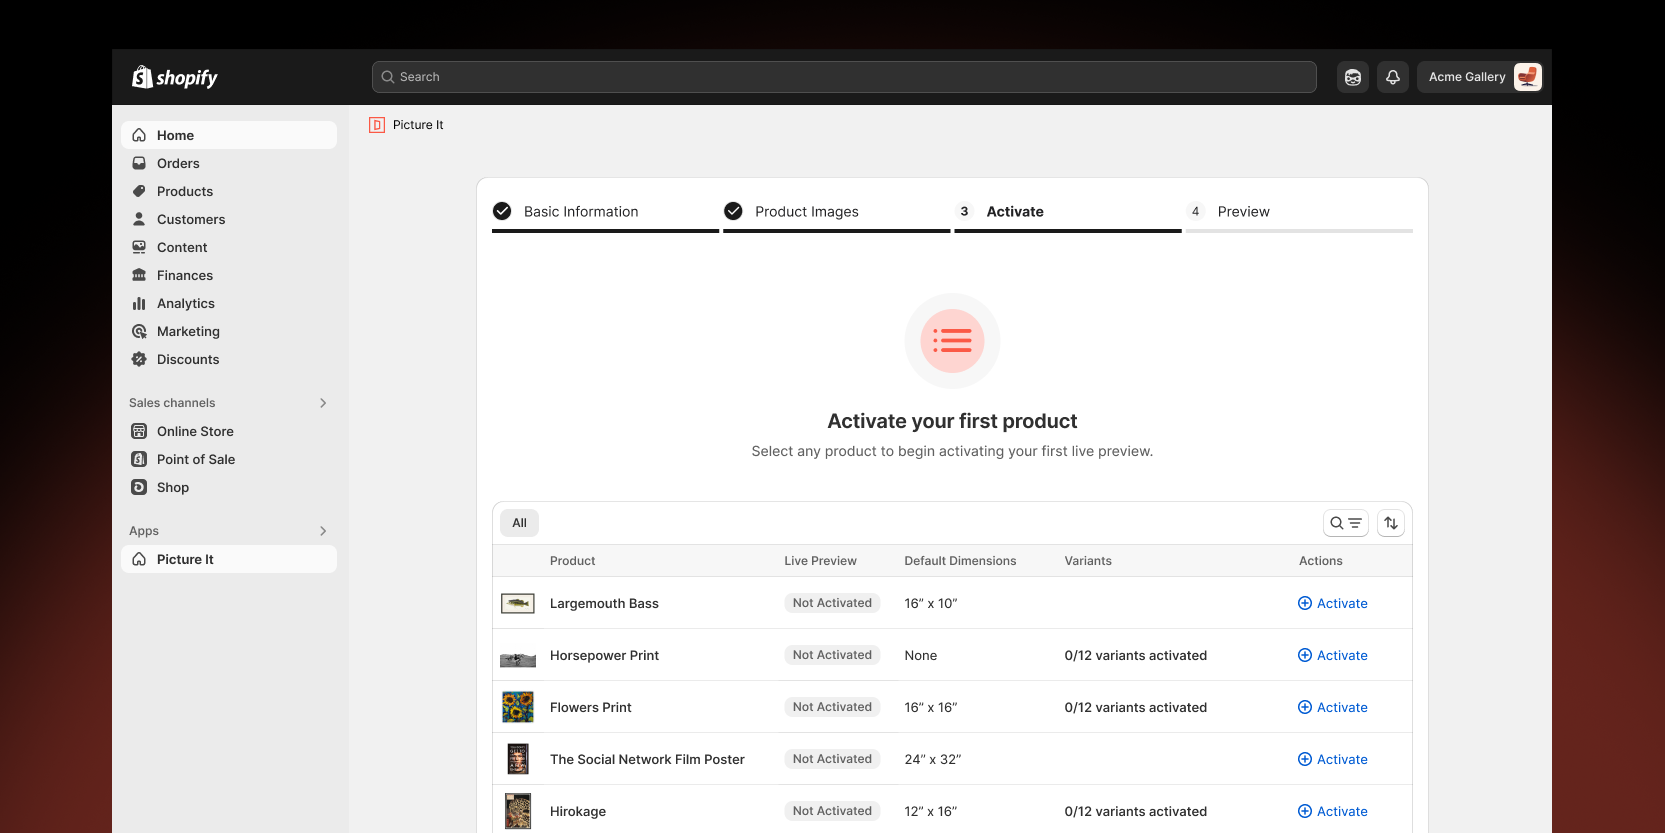
Take a moment to verify that all dimensions have been correctly imported. This quick review can save you time and ensure accuracy before going live.
Make it easy for customers to access AR previews:

Before announcing this new feature to customers, thoroughly test the experience:

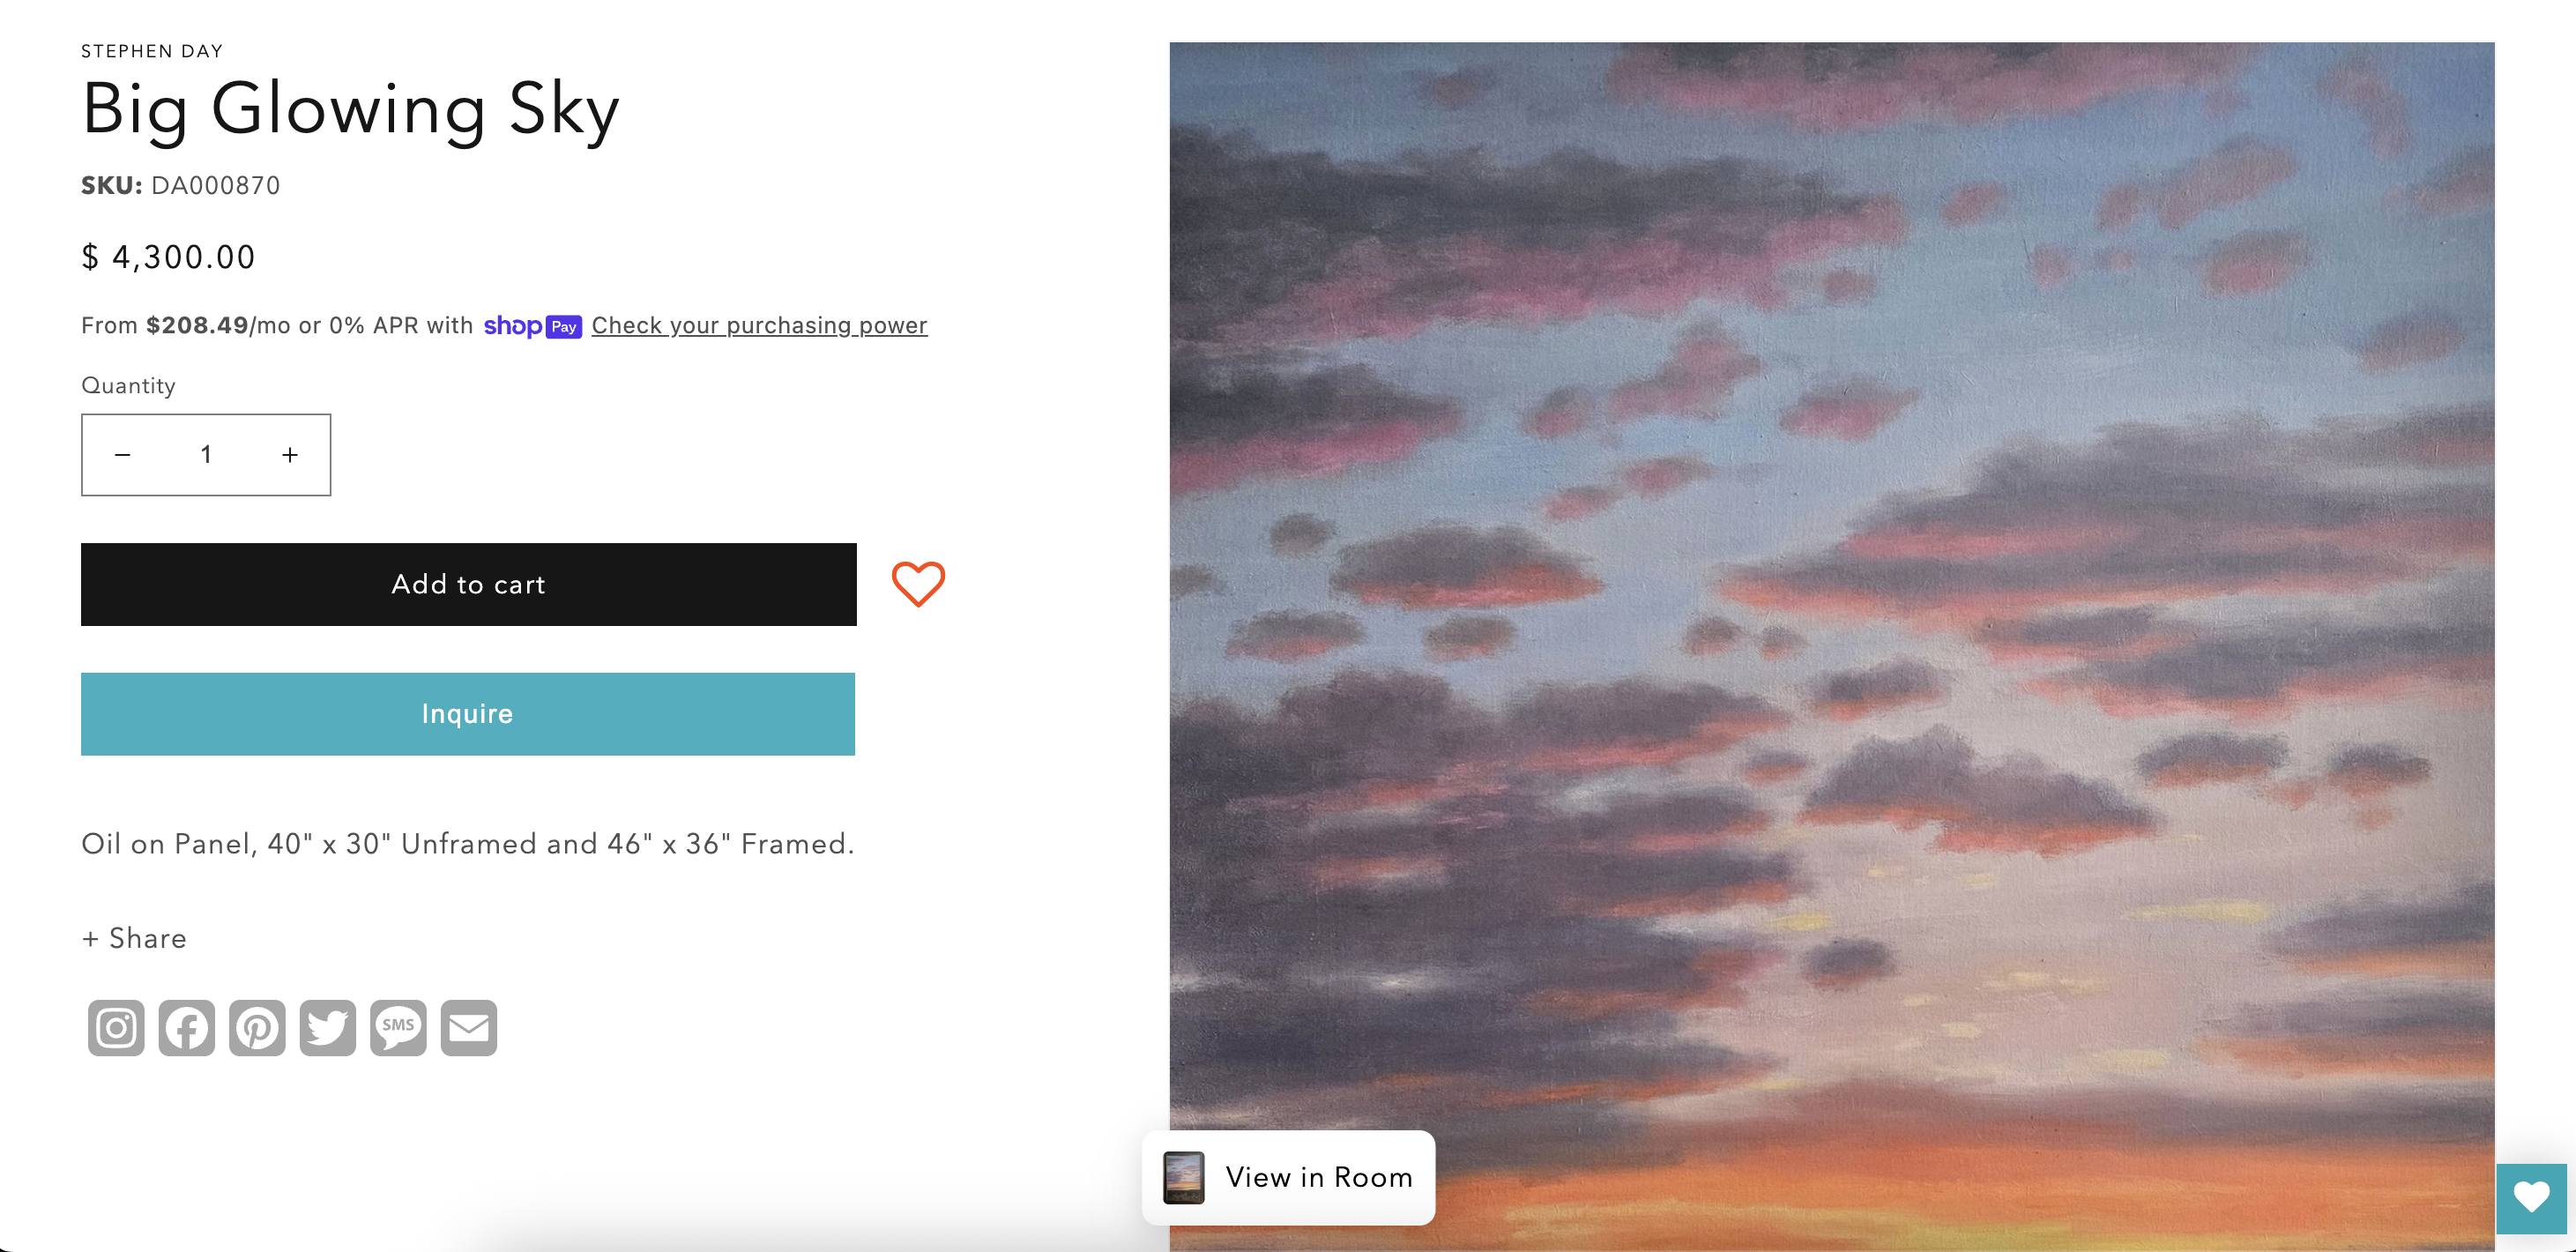
The AR preview should show your selected artwork at true-to-size scale, allowing customers to see exactly how it will look in their space.
Keep your dimension formatting consistent across all products. This ensures reliable detection and a professional appearance.
As you add new products or variants, remember to activate AR previews for these items to maintain a consistent customer experience.
Consider adding information to your product pages or FAQ section explaining how customers can use the AR preview feature.
Keep track of how AR previews affect your conversion rates and customer satisfaction. Most retailers see significant improvements in both areas.
Dimensions not detecting properly? Check that your formatting follows the recommended Width x Height pattern with clear unit indicators.
AR preview sizing seems off? Verify that your width and height mapping is configured correctly in the Picture It settings.
Variants not showing individual dimensions? Ensure dimensions are included in variant names rather than just the main product description.
Setting up accurate AR previews might seem complex initially, but following this step-by-step process ensures your customers get the most realistic preview possible of your artwork. The investment in properly configuring dimensions pays off through increased customer confidence, higher conversion rates, and fewer returns.
With Picture It handling the technical complexity, you can focus on what you do best - creating amazing art. Your customers will appreciate being able to visualize exactly how your pieces will look in their homes, leading to more satisfied buyers and a more successful online art business.
Ready to get started? Install Picture It today and begin offering your customers the true-to-size AR preview experience they've been waiting for.
Install Picture It for a 14-day free trial, cancel anytime.
